CSV
By adding this CSV file to your Zuar Runner instance, you will see this CSV file as a table in your designated database. It can then be viewed in the database with a BI tool like Tableau.
Navigate to your Zuar Runner instance: (instance name).zuarbase.net
Select Files on the left hand side of the screen. Read more about Files.
You can either select Add File or drag/drop your CSV file into Files. The file is now available to create a table from the CSV.
After adding the file to Files, you are now going to create a job to get the data from this file into a database table. Navigate to the bottom left of your screen and select + Add. Click on CSV File.

Select the CSV file you just uploaded from File Manager and click Next.
After clicking Next, you are taken to the ‘Verify the information’ screen. Zuar Runner samples the CSV file and chooses a default encoding and designates a delimiter. No change needs to be made here unless explicitly told to do so. Click Next.

In the next screen, specify the output and define the name of the job and a table in the database.
Title: [CSV] schema.table
Type: Local Database
Schema: Schema is an organization or structure for a database and is important in data modeling.
Table: table name
Click DONE. This job now exists in Zuar Runner.
Click START and then RUN.
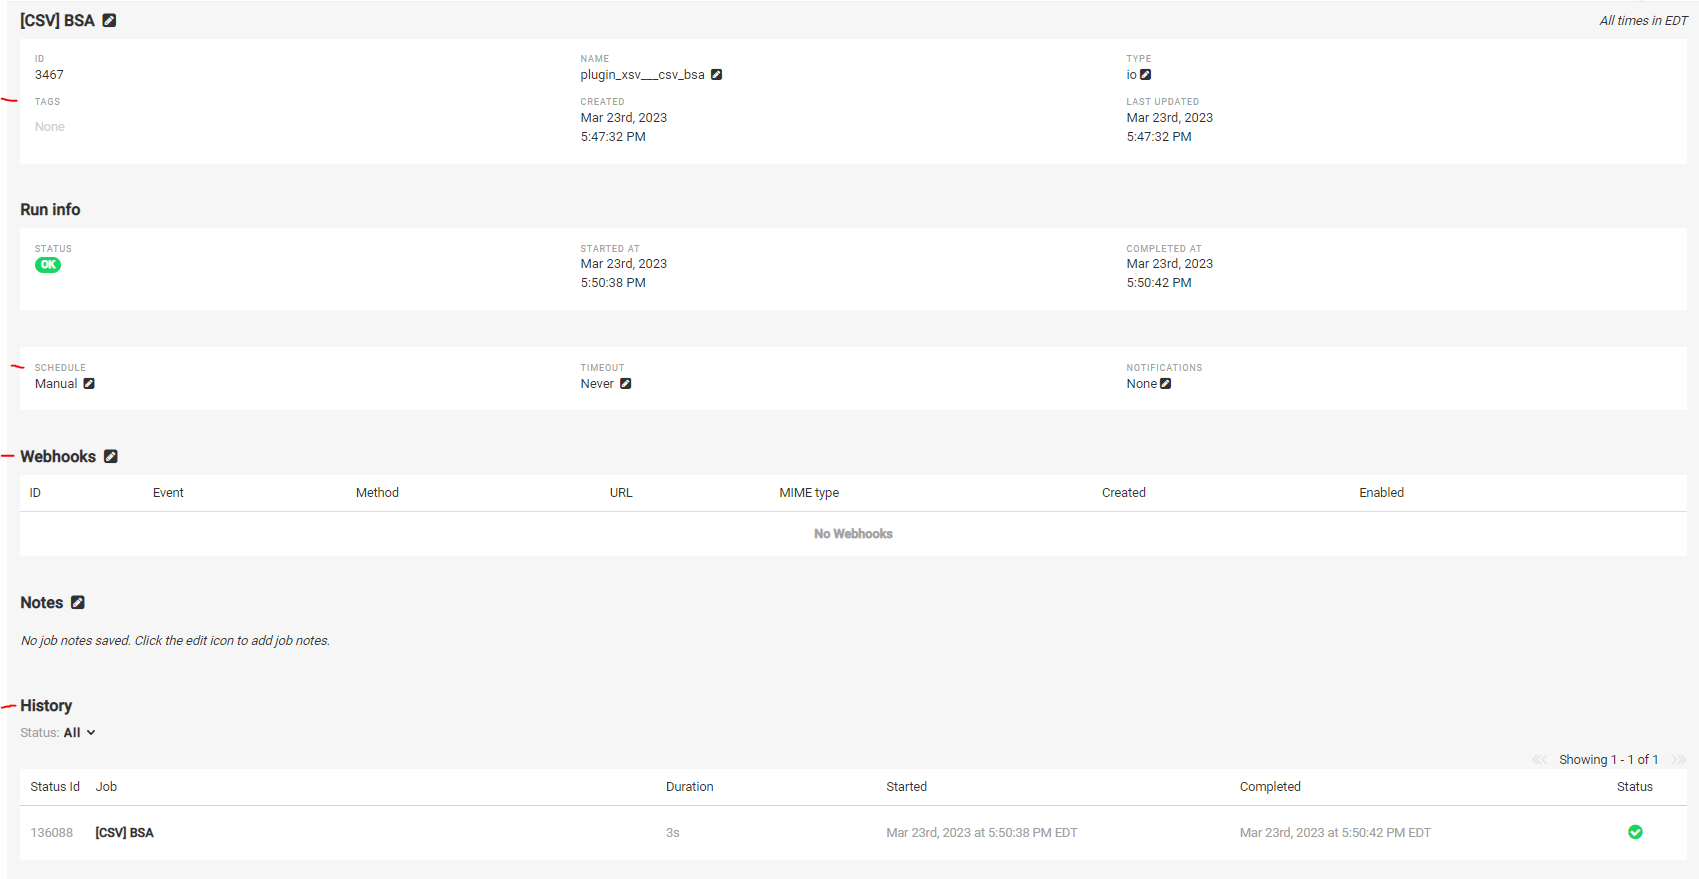
Notice the History section at the bottom of the screen. This will inform you when the job is finished running. The Run Info provides more information about the job.
On the jobs page you can choose to add tags, give the job a schedule, add a webhook, and view the history of runs!
